How to Use a Plate Calculator for Faster Workouts
Learn how to use a plate calculator step by step, from picking the right bar weight to loading plates safely during warm-ups and working sets.


You're standing at the rack with a bar already waiting, the plates are stacked nearby, and someone just gave you a target that doesn't fit neatly in your head. That's exactly when how to use a plate calculator stops being a nice convenience and starts being the fastest way to load the bar correctly, keep your warm-up moving, and avoid the small math mistake that turns into a bad set.
A plate calculator does one simple job well. It tells you which plates go on each side of the bar so the total loaded barbell weight matches your target, and it does that by subtracting the bar first, then splitting the rest evenly across both sleeves. The catch is that the answer is only right if you use the actual bar weight, the correct unit system, and the plates your gym has.
What a Plate Calculator Actually Does
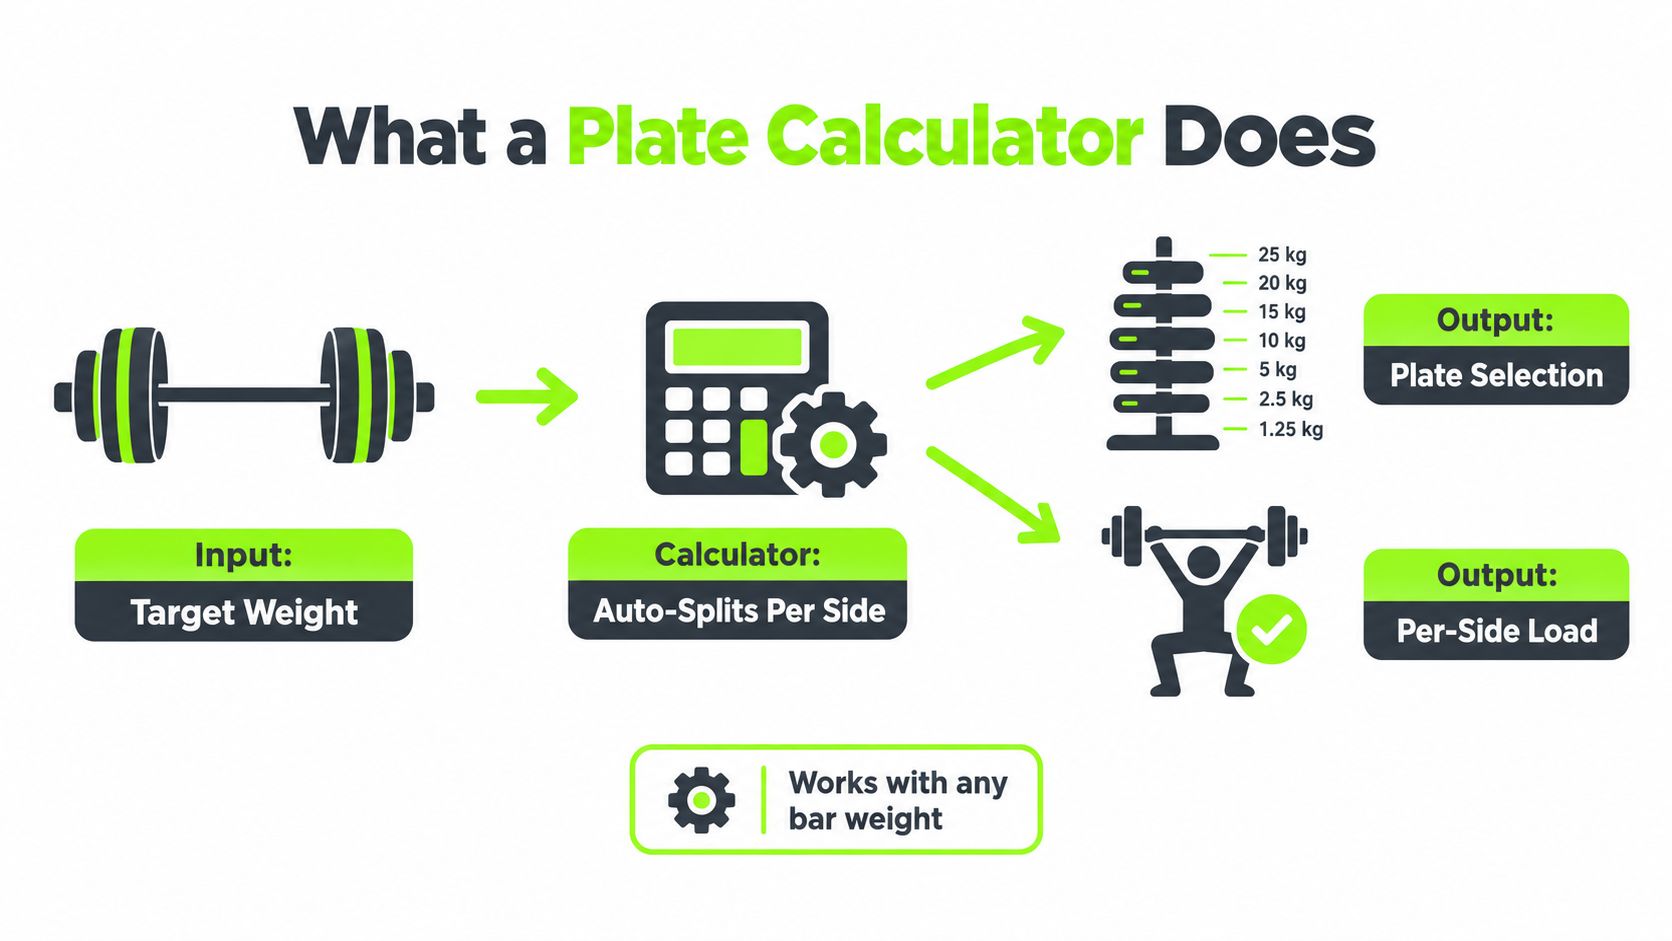
A plate calculator is not guessing, and it's not doing magic. It takes the total weight you want on the bar, subtracts the bar itself, and divides the remaining load by two so each sleeve gets the same amount. That's the whole idea, and once you see it once, the rest of the process gets a lot less intimidating.
Built for progress
Take the guesswork out of training
Get a personalized workout plan built around your goal, equipment and schedule. Train smarter, track every rep and keep moving forward, one workout at a time.






The basic formula is straightforward, per-side load = (target weight − bar weight) ÷ 2. If you want 100 kg on a 20 kg Olympic bar, the plates have to make up the remaining 80 kg, which means 40 kg per side. A valid stack is one 25 kg plate and one 15 kg plate on each side, with the same order mirrored left and right. For a quick visual guide to that setup, it helps to figure out plate combinations before you start loading.
Start with the bar, not the plates
The first number you need is the bar's actual weight. A standard Olympic barbell weighs 20 kg, a women's Olympic barbell 15 kg, and other bars can be different, so checking the label or asking gym staff is the safer move when the bar isn't obvious. The International Weightlifting Federation lists 20 kg for men's bars and 15 kg for women's bars, so starting with the wrong bar changes the whole load recommendation (IWF equipment specifications).
If the gym uses pounds, the same idea applies, but the units have to stay consistent. A calculator can only help if you enter kilograms with kilograms or pounds with pounds. Mixing them is one of the quickest ways to end up with the wrong weight on the bar.
Practical rule: always confirm the bar before you touch a plate. If the bar's weight is wrong, every number after that is wrong too.
The full workflow in plain language
Use the calculator the same way every time. First, confirm the bar weight. Then enter the target total weight. After that, the calculator subtracts the bar and splits the remainder into equal side loads. From there, you choose the plates from heaviest to lightest and repeat the same stack on the second sleeve.
That structure matters because it makes the result easy to check. If the bar weighs 20 kg and each side carries 40 kg of plates, the math should land back at 100 kg total. The auditable check is simple, calculated total = bar weight + 2 × per-side plate weight. If that number doesn't match your target, something in the setup is off.
Loading Plates from Heaviest to Lightest
Once the calculator gives you the per-side number, the loading pattern is simple: put the largest plate closest to the collar, then add smaller plates outward. That order isn't just tidier. It keeps the bar easier to adjust later because you don't have to strip off the biggest plates every time you make a small change.
For the 100 kg on a 20 kg bar example, the calculator gives you 40 kg per side. A clean setup is 25 kg first, then 15 kg on each sleeve, with the same order on both sides. The plates should sit flush against each other, and the stack on the left side should match the right side exactly.
A quick way to sanity-check the bar is to look for symmetry before you unrack it. The heavy plates should sit inward, the lighter plates outward, and both sleeves should look identical from the side.
| System | Plate sizes |
|---|---|
| Metric | 25, 20, 15, 10, 5, 2.5, 1.25 kg |
| Imperial | 45, 35, 25, 10, 5, 2.5 lb |
A reliable loading habit is to build one side, then copy it exactly to the other side. That keeps the bar balanced and prevents the kind of uneven setup that makes the bar feel awkward before you've even lifted it.
Load the bar like you want to unload it later. Heavy plates in first, small plates outboard, and the same stack on both sleeves.
Why the Calculator Shines During Warm-Up Sets
Working sets are easy. You know the target, you load it once, and you're done. Warm-ups are where the calculator earns its keep, because the load changes over and over in a short window, and that's when people start miscounting plates or rounding in their heads.
A typical ramp moves from an empty bar toward the working weight in smaller and smaller jumps. One published warm-up example goes through 45, 135, 185, 225, 275, and 295 pounds, while the reps drop from 8 to 1 (warm-up structure example). Every change means another round of plate math, and that gets tiring fast if you're trying to do it mentally between sets.
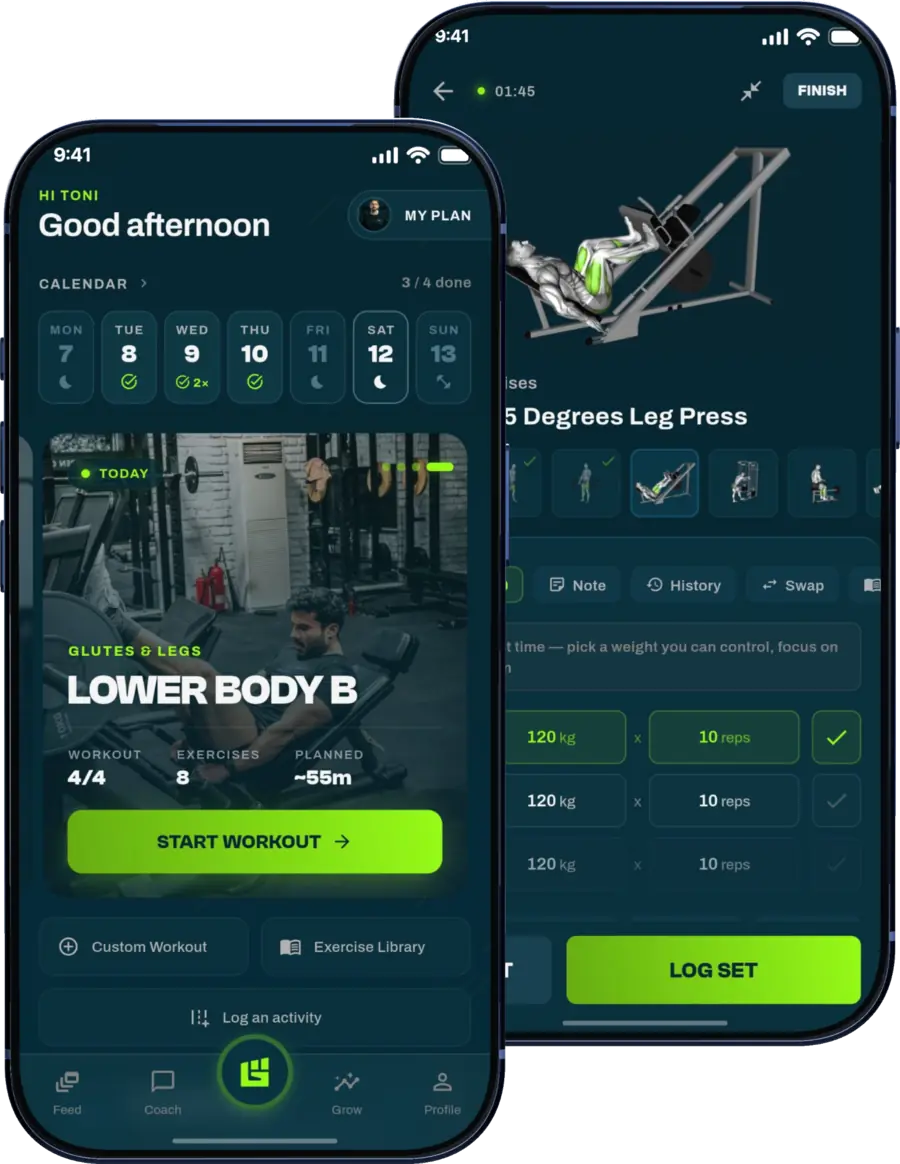
That's also why a plate calculator belongs inside the workout log instead of on a scrap of paper. When you're moving through warm-up sets, you want the plate breakdown right where you're recording the lift, not something you have to re-derive every time the load changes. GrabGains includes a plate calculator in its workout flow, so you can see the plates to load while you log each set.
For lifters who bounce between several warm-up weights, this saves more than time. It reduces the chance of loading the wrong weight, logging the wrong number, or rushing because the room feels busy.
Handling Odd Increments and Specialty Bars
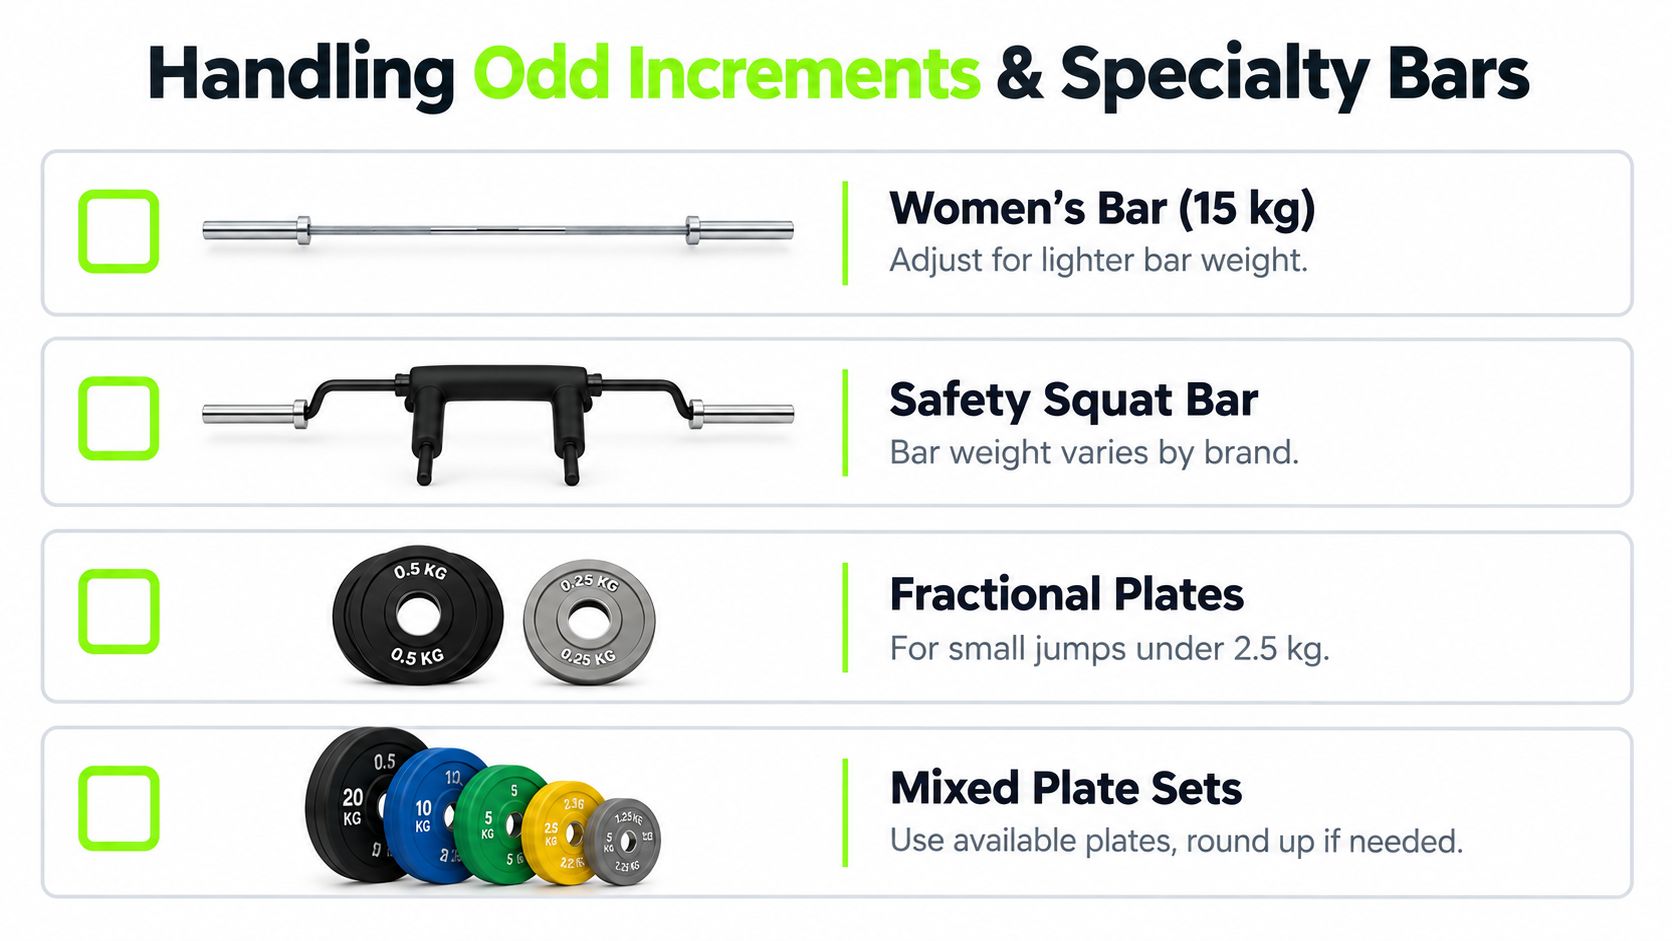
The cleanest examples assume a standard Olympic bar and a full plate tree. Real gyms don't always cooperate. You'll run into 15 kg women's bars, limited plate inventories, missing change plates, and odd targets that don't land neatly on the plates you have available.
Check the bar and the inventory first
If the bar is nonstandard, confirm its weight before you enter anything. That matters for specialty bars, technique bars, trap bars, EZ bars, and fixed barbells, because they don't all share the same spec. If you're unsure, ask gym staff or check for a label near the collar.
Then look at the plates on the tree. Not every gym has 1.25 kg or 0.5 kg plates, and without fractional plates, some target weights can't be built exactly. In that case, round to the nearest load you can assemble and log the weight you really lifted, not the one you wished the room had.
If you want a place to keep that habit tied to your session, the weight training workspace can keep the loading decision alongside the workout itself. That matters most when the equipment is limited and you need a quick, honest answer.
Best practice: choose the nearest load you can build cleanly, then record that exact weight. Progress only stays useful when the log matches the bar.
Collars and mixed units can change the answer
Collars are easy to forget because they feel like setup hardware, not load. One practical reference notes that standard collars may add about 2.5 lb or 1 kg per pair (collar weight note), so a setup that looks correct on plates alone can still overshoot the target if you ignore them.
Mixed units create a different problem. A calculator can only be accurate if the bar weight, the plates, and the target are all in the same system. If your gym is a mix of kilograms and pounds, slow down and match the units before you start loading.
Common Mistakes That Throw Off the Load
A plate calculator only works if the setup matches on both sides. One easy mistake is loading the left sleeve one way and the right sleeve another. The bar may still reach the target weight, but the layout becomes harder to read at a glance, and small mismatches are easier to miss before the unrack.
Another common slip is flipping the plate labels inward on one side and outward on the other. The stack can look different even when the plates are technically correct. Keep the order and label direction mirrored left to right so you can verify the load quickly without second-guessing the sleeves.
Collars create another point of confusion. Standard collars add roughly 1 kg per pair, so skipping them puts a 100 kg target at about 102 kg. That is a small shift, but it matters when you are warming up and trying to hit a precise working weight.
The same attention helps with mixed units and specialty bars. If the bar spec changes, the math changes with it. A clean setup starts with matching the bar, the plates, and the collars to the same system, then checking the final stack before you lift.
A Short Pre-Lift Checklist and Rounding Strategy
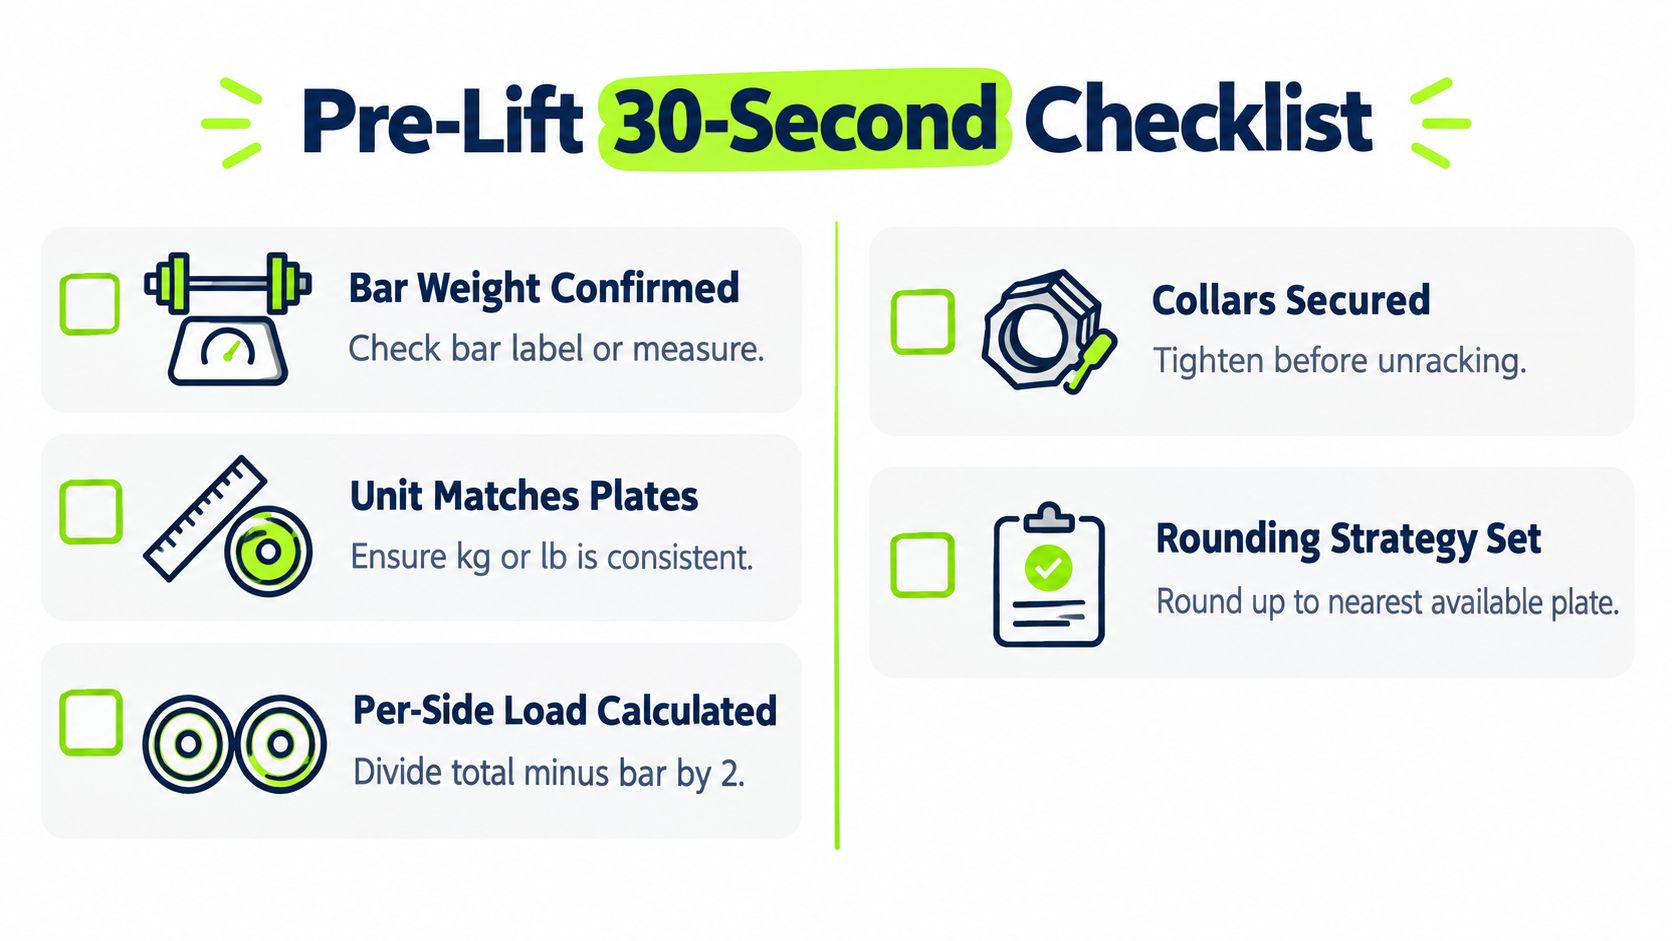
A quick checklist catches most loading errors before the bar leaves the rack. Confirm the bar weight, match the units, calculate the per-side load, mirror the plates on both sleeves, secure the collars, and then check that the total still matches the target. If any step feels off, pause and fix it before you unrack.
Use the weight you can actually build
Rounding belongs in real training. If your gym lacks the fractional plates needed for an exact target, the calculator's nearest-buildable suggestion becomes your working weight. That keeps the load honest and avoids chasing a number you cannot assemble on the bar.
Some setups make this more likely. A specialty bar, limited plate selection, or collars that change the final total can all shift the result slightly, so build the load you can verify cleanly and move on with confidence.
Keep the log honest
Record the weight that was on the bar. That keeps later progress checks clear when the jumps get smaller and the warm-up sets start to blend together. If you want one place to do that during the session, the workout tracker keeps the checklist and the load log in the same training flow.
A repeatable load that matches the bar beats a perfect target you cannot build. Same units, same bar check, same mirrored plates, same recorded weight.
Putting It All Together in Your Training
The full routine is simple enough to repeat without thinking: confirm the bar, enter the target, read the per-side load, stack the plates from heaviest to lightest, mirror both sides, check the total, and log the actual weight you lifted. Once that becomes your default, plate loading stops feeling like a math problem and starts feeling like part of the warm-up.
That same workflow fits neatly into a training plan. The training plan side of your routine can anchor the work, while the plate calculator handles the loading details that slow people down at the rack. If you're still building your setup skills, the related guides on the one-rep max calculator, the gym warm-up routine, the progressive overload training guide, the beginner bench press weight guide, and the first day at gym guide all fit the same idea, which is to make each session easier to start and easier to repeat.
GrabGains brings that process into one workout flow, with the plate calculator, workout logging, and planning tools living in the same place. If you want a simpler way to load the bar correctly and keep your warm-ups moving, visit GrabGains and use the workout tools on your next session.
Get inspired and motivated